Your Axolotl Laid Eggs: Now What?
Discovering axolotl eggs in your tank is exciting but can be overwhelming. A single female can lay hundreds of eggs in one spawning event.
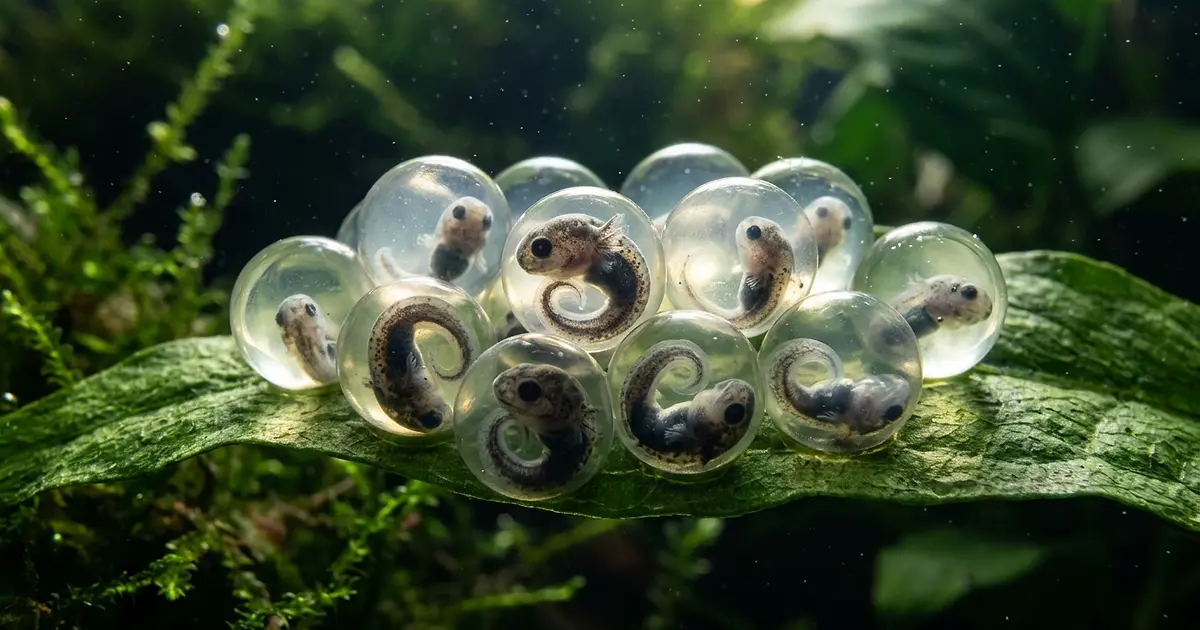
Axolotl eggs are about 1-2mm in diameter, surrounded by a clear jelly coating (1-2cm total including jelly), and attached to surfaces with a sticky gel. They can be found on plants, tank walls, and decorations, laid individually or in small clusters.
Fertile vs Infertile Eggs
| Feature | Fertile | Infertile |
|---|---|---|
| Color (day 1) | Translucent with dark dot | Translucent or slightly cloudy |
| Color (day 2-3) | Dark embryo growing | Turns white/opaque |
| Texture | Firm jelly | Soft, may become fuzzy (fungus) |
| Development | Visible changes daily | No change, then decay |
Color (day 1)
Fertile : Translucent with dark dot
Infertile : Translucent or slightly cloudy
Color (day 2-3)
Fertile : Dark embryo growing
Infertile : Turns white/opaque
Texture
Fertile : Firm jelly
Infertile : Soft, may become fuzzy (fungus)
Development
Fertile : Visible changes daily
Infertile : No change, then decay
Remove White Eggs Immediately
Infertile eggs turn white and opaque within 24-48 hours. Remove them immediately to prevent fungus from spreading to healthy fertile eggs. Fungus can quickly destroy an entire batch if left unchecked.
Egg Care Container Setup
Container
Small container or shallow tub with dechlorinated water at 16-18°C. No filter needed, but gentle aeration helps.
Water Changes
100% daily water changes. Gently pour off old water and add fresh dechlorinated water at the same temperature.
Location
Keep in a cool, dark place. Avoid direct sunlight which raises temperature and promotes algae growth.
Methylene Blue
A few drops in the water can prevent fungal growth on eggs. Optional but recommended for large batches.
Egg Development Timeline
| Day | Development |
|---|---|
| 1 | Single dark cell visible inside jelly |
| 2-3 | Cell division visible (2, 4, 8 cells) |
| 5-7 | Embryo takes shape, early body form |
| 10-14 | Limb buds, tail visible, embryo moves |
| 14-21 | Hatching (temperature dependent) |
1
Development : Single dark cell visible inside jelly
2-3
Development : Cell division visible (2, 4, 8 cells)
5-7
Development : Embryo takes shape, early body form
10-14
Development : Limb buds, tail visible, embryo moves
14-21
Development : Hatching (temperature dependent)
Temperature Affects Development Speed
Care Tips for Best Hatch Rate
After Hatching
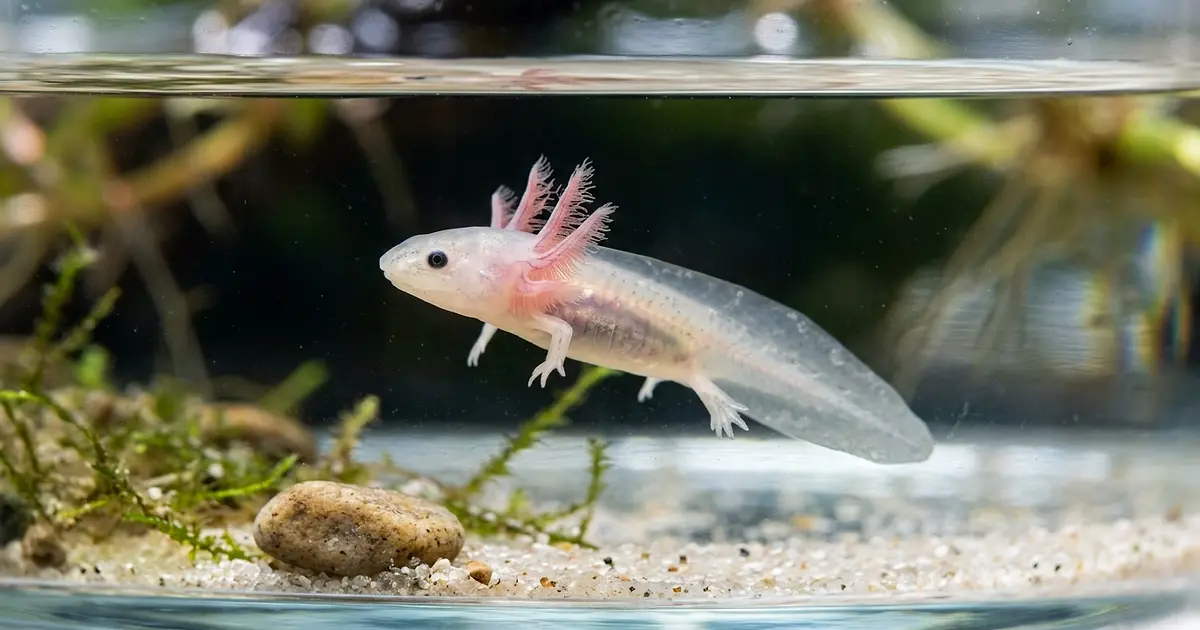
Newly hatched axolotls are about 1cm long. They absorb their yolk sac for the first 24-48 hours and do not need feeding during this time. After that, follow the baby axolotl care guide for feeding and housing instructions.
What If You Did Not Plan for Eggs?
Leave eggs in the tank: adults will eat most of them (nature's solution)
Save a small batch: remove 10-20 eggs to raise, let the rest be consumed
Contact local axolotl groups: other keepers may want eggs or babies
Never release axolotls or eggs into the wild (illegal and harmful to ecosystems)
Full Breeding Guide
Want to understand the entire process from sexing to courtship to egg laying? Read the complete breeding guide.
Frequently Asked Questions
Frequently Asked Questions
What do fertile axolotl eggs look like?
Should I remove axolotl eggs from the tank?
Related Articles
Baby Axolotl Care: From Eggs to Juvenile
Raising baby axolotls from hatching to juvenile: first foods (brine shrimp), water requirements, growth milestones, cannibalism prevention, and size separation.
Read more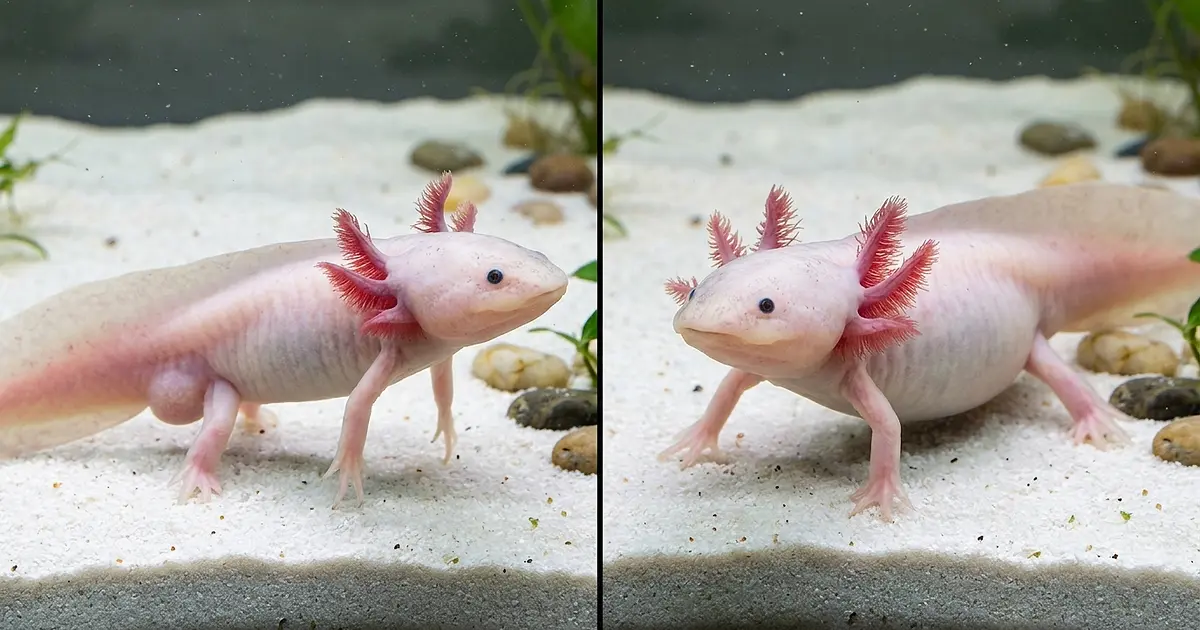
Male vs Female Axolotl: How to Tell the Difference
How to sex your axolotl: cloaca shape, body differences, and the minimum age for reliable identification. Visual comparison guide.
Read more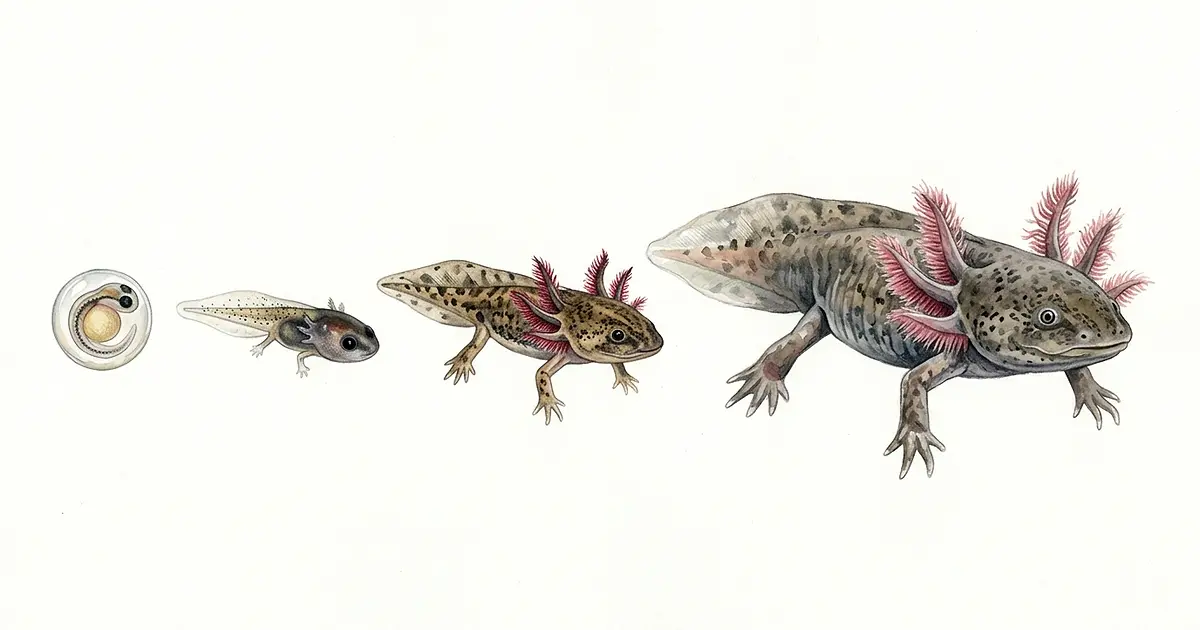
Axolotl Life Cycle: From Egg to Adult
Follow the axolotl life cycle stage by stage: egg, larva, juvenile, sub-adult, and adult. Growth timeline, milestones, and what to expect at each phase.
Read more